Why a shared repair bench beats replacing kit every season

A club, guiding outfit or campus gear store hands out the same packs, shells and stoves to a rotating set of people. The failure points show up in the same places every time: a bar tack tearing on a shoulder strap, a laminated shell delaminating at the shoulder, a zip slider losing its pull. That repetition is the argument. One documented fix covers dozens of items.

Failure points repeat across a fleet

Individual hikers see a torn strap once. A team sees the same tear on the same model, season after season. That pattern tells you where to reinforce before the next issue, instead of reacting to whatever comes back broken.
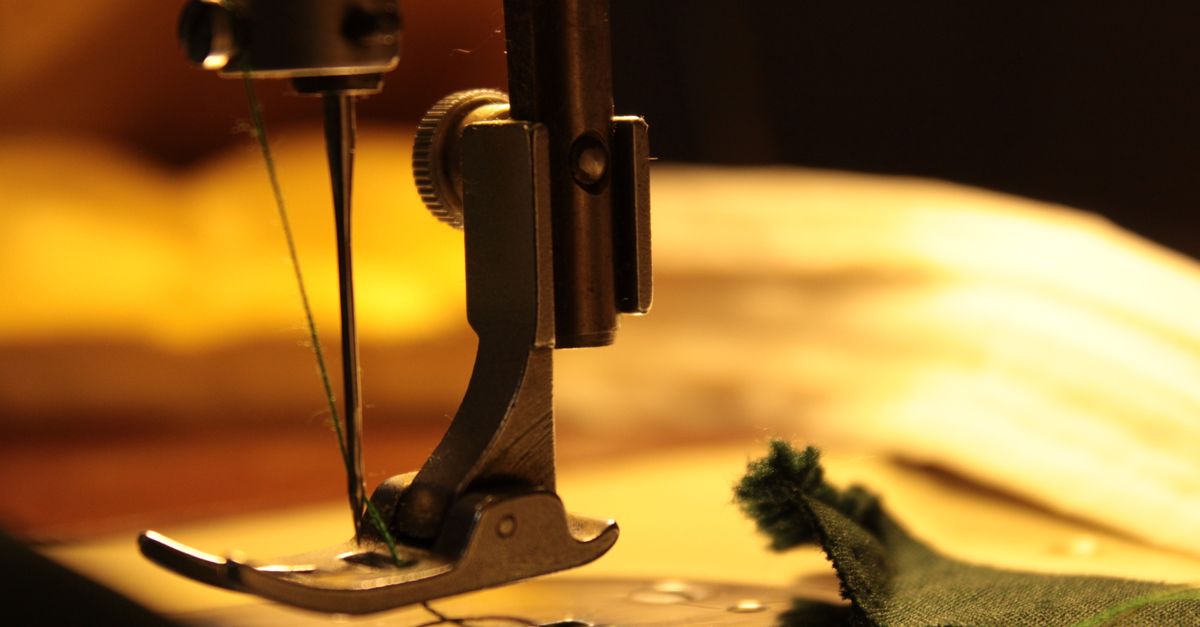

A triage rule anyone can follow

Not every item is worth fixing. A simple rule, written down and posted at the bench, decides what gets stitched, what gets patched and what is retired. It keeps the decision out of one person's head and makes it consistent.

A log that outlasts the season

Which patch held through a wet traverse, which thread frayed, which slider skipped again after a month. Notes like these turn a repair bench into something that improves, rather than a pile of jobs that get redone.

What the field notes give you

  • Parts lists drawn from outdoor shops, so a repair can be planned before it is needed.
  • Stitch and patch references that a second person can follow without prior training.
  • Honest notes on which fixes hold up on a long traverse and which do not.

What it deliberately is not

  • No accounts, bookings or payments. The blog is read, not subscribed to.
  • No service-level promises. A repair is judged by whether it holds, not by a schedule.
  • No replacement for your own judgement on gear that has reached the end of its life.

If your team is weighing up a shared repair bench, the practical starting points sit in the repair and maintenance notes, and any specific job can be sent through the contact form.

Field notes that pick up where a shared repair bench leaves off

Teams, clubs and outfitters that issue packs, shells and stoves run into the same failure points as any solo hiker. These three write-ups go deeper on the fixes that come up most often once gear is used by more than one person, and they are the ones we point people to first.

Load-bearing repair

Stitching a torn pack strap without a machine

The webbing-to-body junction is where issued packs give out first. A saddle stitch, a heavy needle and waxed thread close the tear, and the repair often outlasts the original seam.

Read the strap repair notes

Laminated fabric

Patching a 3-layer shell with heat tape

Heat tape holds on a laminated shell only when the temperature and pressure are right. Too little heat and the adhesive never wets out; too much and the membrane lifts around the patch.

Read the shell patching guide

Index

More notes from the workbench

Boot re-waterproofing, tent zip slider swaps and stove servicing all sit in the same archive. If a piece of kit is failing across a whole team, start there before deciding what to retire.

Browse all field notes

What a Shared Repair Bench Looks Like

Clubs, guides and outfitters hand out the same packs, shells and stoves to a rotating group of people. The failure points repeat: a strap tears at the bar tack, a laminated shell lifts at the shoulder, a zip slider loses its grip. These four views show the parts of a repair setup that keep a shared kit usable across a season.

OTR Groups: for business

Strap junction under load

The webbing-to-body seam is where a pack strap gives out first. A backed saddle stitch at roughly six stitches per inch holds the load again, and it is the repair most worth teaching to whoever runs the kit room.

OTR Groups: for business

Shell delamination at the shoulder

Heat tape only works when the temperature and pressure are controlled. Too little heat and the adhesive never wets out; too much and the membrane lifts around the patch. Rounded corners and a slow pull test tell you whether the bond will survive a wet ridge.

OTR Groups: for business

Slider wear versus coil damage

A skipping tent zip is usually a worn slider, not a dead coil. Matching the gauge and size gets a new slider on in about twenty minutes. When the coil itself is chewed, a full zip replacement is the honest call.

OTR Groups: for business

Stove service before issue

A sputtering or yellow flame usually points to a partly blocked jet or a hardened O-ring, not a stove that needs replacing. Cleaning the jet and swapping seals is a short job, and the flame pattern tells you whether it worked.

Labelled parts bin

Sliders by gauge, webbing offcuts, waxed thread, O-rings and heat tape in marked drawers. Anyone on the team can pull the right part without asking.

Stitch reference sheet

One laminated card on the wall showing the saddle stitch, the bar tack and the locking knot. It keeps repairs consistent no matter who picks up the needle.

A log of what held

A short note per item: what failed, what was done, and whether it survived the season. Over a year it becomes a triage rule for what is worth fixing and what gets retired.

What a shared repair bench actually looks like

When a club, guiding outfit or rental desk hands the same packs and shells to dozens of people, the failure points are predictable. A strap tears at the bar tack. A laminated shell delaminates at the shoulder where the load sits. A zip slider loses its grip. None of that is unusual, and none of it needs a replacement budget to solve.

A labelled parts bin

Sliders sorted by coil gauge, spare O-rings, 25 mm nylon webbing, waxed polyester thread, heat tape in two widths. When the bin is labelled, a repair takes minutes instead of an afternoon of hunting.

A stitch reference sheet

One page pinned above the bench: needle gauge, thread weight, stitch spacing for load-bearing seams. It keeps the work consistent whether one person or five people are doing the repairs.

A repair log

What failed, what was done, and whether the patch held through the season. Over time the log shows which fixes are worth repeating and which items are simply done.

A simple triage rule

Decide up front what is worth fixing and what gets retired. A torn strap with intact webbing is a repair. A delaminated shell across the whole shoulder panel usually is not. Writing that rule down stops the bench from filling up with jobs nobody will finish.

Documenting each stage

Photograph the damage before touching it, note the parts used, and record the result after a season of use. That record is what turns a one-off fix into a routine the next person can follow without guesswork.

The blog's field notes are written for individual hikers, but the same routines scale to a shared bench. No accounts, bookings or payments are involved. If you want a specific repair considered for a teardown post, the contact form is the only interactive step.