Field note 02
Patching a 3-Layer Shell with Heat Tape
Getting a waterproof bond on a laminated jacket without cooking the membrane
Most heat-tape patches I see come back to the bench for the same reason: the iron was either too cool or too hot. Cool, and the adhesive never wets out into the face fabric, so the tape lifts at the first fold. Hot, and the membrane around the patch delaminates into a wrinkly halo you cannot fix. The window between those two failures is narrow, and it is measured in degrees.
This is the method I use on a 3-layer shell with a pinhole leak or a lifted seam at the shoulder. It is not a fix for a jacket with widespread delamination, and I will say plainly where the limit sits.
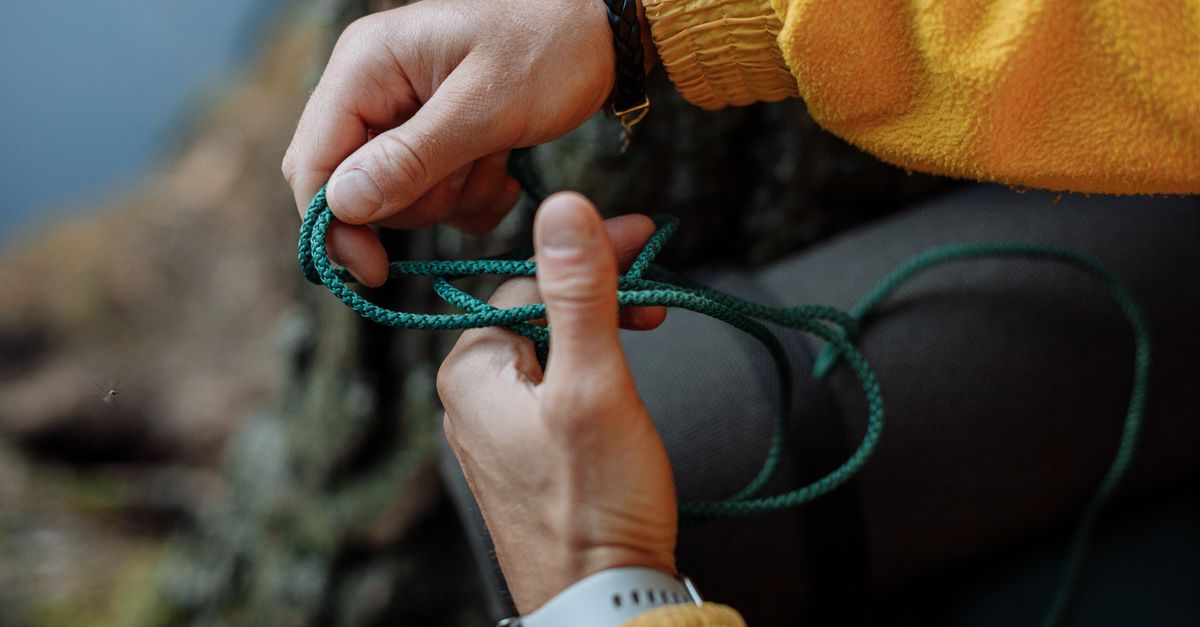
What goes on the bench
- 20 mm heat-activated seam tape
- Small travel iron or heat press
- Parchment paper and a thin cotton cloth
- Isopropyl wipes
- A roller or a smooth hard edge
Where the failure starts
Three spots do most of the damage: the seam tape lifting at the shoulder from pack straps, a puncture from a crampon point, and abrasion at the hip where the belt rubs. Each one is a small opening, and each one lets water in along the laminate edge rather than through the fabric itself.
The temperature window
Set the iron between 130 and 140 degrees Celsius. Below that the adhesive stays tacky but never bonds. Above it, the membrane around the patch starts to separate from the face fabric. Press through a thin cotton cloth, firm and even, and let the patch cool under weight before you touch it.
The method, in order
- Wipe the area with isopropyl alcohol and let it flash off. Heat tape bonds to the membrane, not to a dirty face fabric, so surface prep decides whether the patch holds.
- Round the corners of the patch. Square corners catch on pack straps and start to peel within a week.
- Align the tape over the seam or hole and lay the cotton cloth on top.
- Press at low heat with firm, even strokes, working from the centre out.
- Cool the patch under a flat weight for a few minutes before folding the jacket.
Why 2-layer and 2.5-layer differ
A 2-layer shell has a separate hanging liner, and a 2.5-layer has a printed or sprayed inner coating. Heat tape is designed to bond to a laminated membrane, so on those shells the same tape often sits on a surface it was never meant to grip. The patch may hold for a trip and then lift. If you are working on a 2.5-layer jacket, test the bond with a slow pull before you trust it on a wet ridge.
The slow pull is the honest test. Press the edge of the patch with your thumb and pull gently. If it lifts cleanly, the adhesive never wet out and you need more heat or more pressure. If it tears the fabric, you went too far.
Where a patch stops being a fix
One patch on a clean shell is a repair. A shell with delamination spreading across the shoulders and back panel is past patching, and no amount of tape will bring the waterproof layer back. That is the point to stop, and it is worth saying out loud rather than selling a fix that will fail on the mountain.
If you are unsure which side of that line your jacket sits on, the contact form takes a description and a photo link, and the teardown posts on the blog show how the repairs that held up were done.